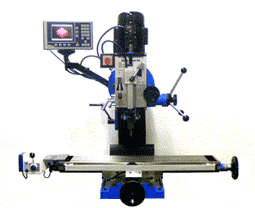
- Manual Bedmill & DRO Systems -
- CNC Systems Made in America -
- Turnkey CNC Bedmills -
IH CNC & Machinery
57 South Street
New Britain, CT 06051
Phone: 860-832-8285
IH Mill vs Square Column Mill Drill
IH CNC Mills vs. Other CNC Mills
IH CNC Mills & Machinery Videos
Pinning the Table PT3 |
|
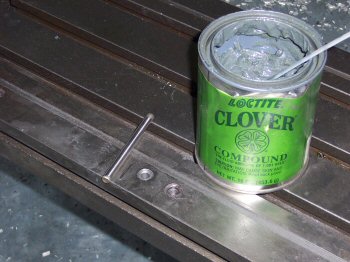
| If you can't get Clover you can use very fine valve lapping compound. | |
 |
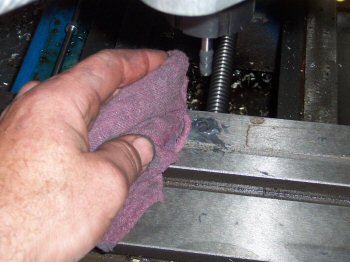
After a night of the setting up, remove all the tape from the table and clean up any excess Locktite.
It is now time to lap the liners a bit to open them up. We open up the liners a bit for a few reasons:
|
 |
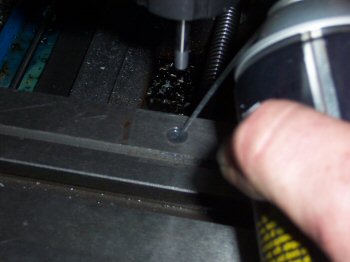
Start by "chucking" the dowel pin and put "Fine Clover" on the pin and in the liner.
We use .250 hardened dowel pins. The fixture pins we use are 1", but for chucking we use 2" pins. |
 |
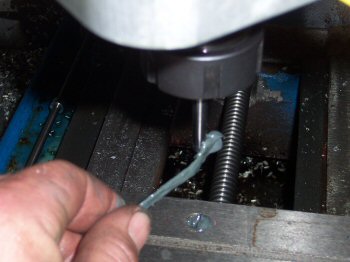
At about 400 RPM use the manual feed to gently insert the pin into the liner. Cycle it up and down a few times over about a 3 minute period.
If you try to go in to fast the pin will bind the liner, if you hear the motor bogging retract the pin instantly. Do NOT let the pin bind into the liner, that will be VERY bad. |
 |
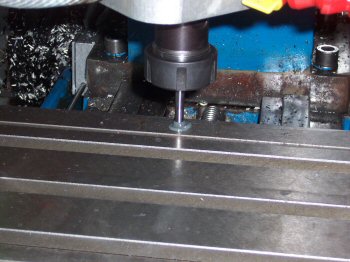
After a few minutes clean off the clover. |
 |
Clean the hole out with break clean. |
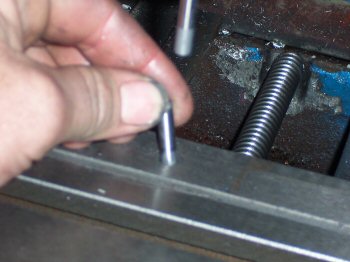 |
Test fit the liner with a new pin.
Repeat the process on the liner until a new dowel pin goes in easily. We use the lapping dowel pin (the one in the chuck) only once per liner, then flip it. After each side is used we get a new lapping pin. |
 |
All liners in and lapped, all thread inserts in.
At this point we are ready to begin working on a fixture. |
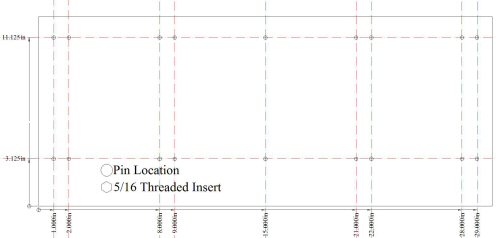 |
We make a little map of exactly where our pins and inserts are. You will want to do the same.
Click on the Link for a exploded view of the picture. |
| Click For Larger Picture | |
| If you'll notice we put all the liners on the edges, there is no rule against putting a row down the middle. | |
| Back to Mill Tips | |