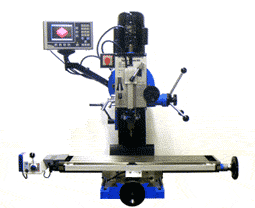
- Manual Bedmill & DRO Systems -
- CNC Systems Made in America -
- Turnkey CNC Bedmills -
IH CNC & Machinery
57 South Street
New Britain, CT 06051
Phone: 860-832-8285
IH Mill vs Square Column Mill Drill
IH CNC Mills vs. Other CNC Mills
IH CNC Mills & Machinery Videos
Pinning the Table PT1 |
|
| If you're considering moving to a fixture based system for holding your work, you will need a repeatable way to mount and remount your fixtures. Pinning your table consists of adding hardened steel pin liners to the table and steel thread inserts to secure fixtures.
A few notes on pinning:
|
|
 |
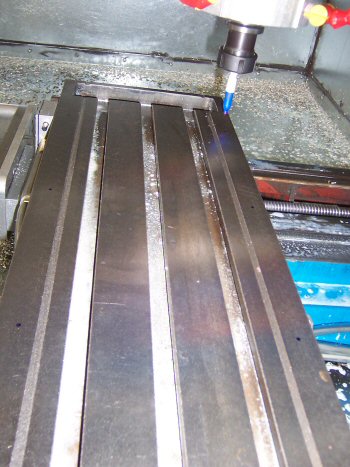
Start by deciding where you want to have the liners.
Use a steel rule aligned with the Y axis to help you decide. You will want to avoid tee slots, and have them generally centered in the lands (spots between slots). |
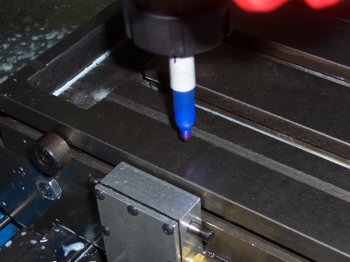 |
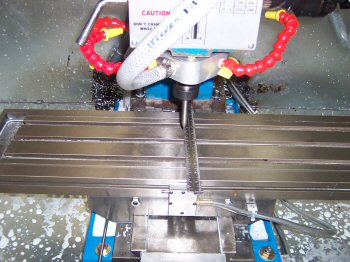
Because you will want to "see" how it looks BEFORE you begin machining, chuck up a marker and mark the table.
Clean the table with a break cleaner type product so the marks are clear. |
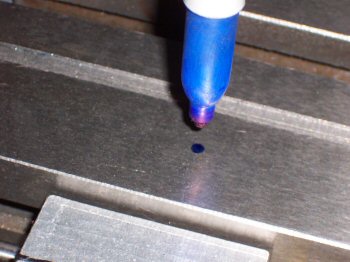 |
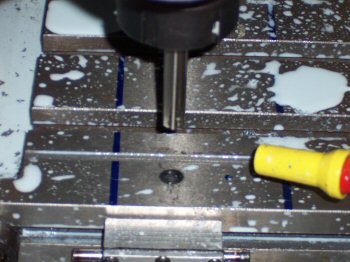
A simple spot will do.
We don't write huge programs to make the spots, simply use the MDI and use a G00 Xnn Ynn command. Once there just touch off the marker with the quill. |
 |
Spot mark all the potential holes.
We run a big fixture, so we run our pins on the outside edge of the table. You can put them in the middle of the table just as easily. |
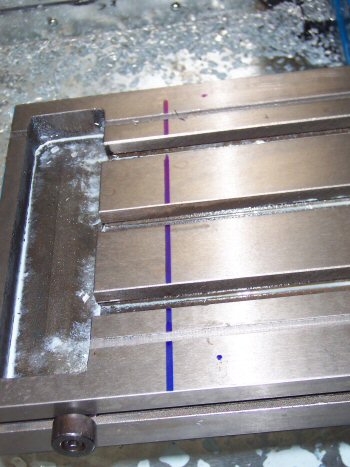 |
Just so you can get a full idea you should run a line at X0 and Xmax. |
 |
Once you are ABSOLUTELY sure that you are happy with the layout, drill the holes.
We use a very short bit. If you are using normal length bits, you will want to spot drill the holes first. |
 |
Ream the holes. |
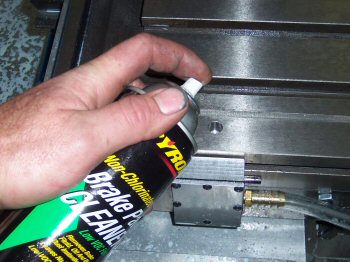 |
Clean the holes with a break cleaner type product. |
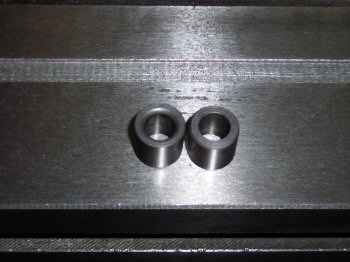 |
We use drill guide inserts instead of actual jig inserts, we prefer them.
Note there is a front and a back to the insert. Drill guide inserts are available from KBCTools.com We use .250 ID inserts. |
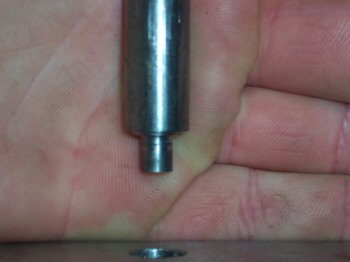 |
We fashioned a insertion tool that holds the insert and sets it about 0.025" below the surface.
Put the tool in the quill. |
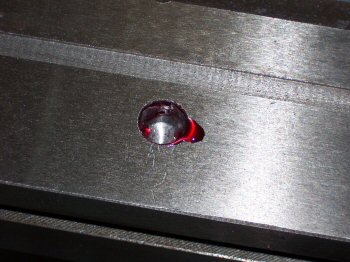 |
A liberal coating of Locktite red. |
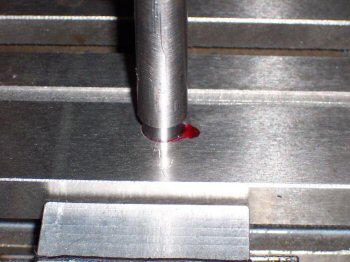 |
Press in the insert, using the manual feed quill. |
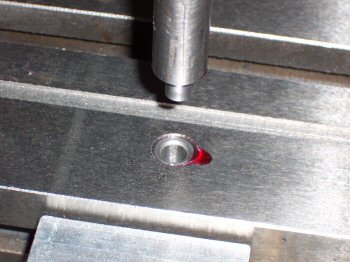 |
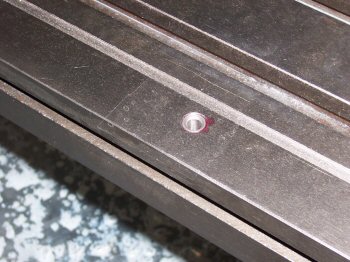
Pressed in. |
 |
Whole table done. |
 |
Once you complete an insert cover it with tape until the next day. |
| Go To Pinning the Table Part 2 | |